SIMPLE HOW TO:
1. I used a cheap pair of leggings to use as the waistband (so I purchased 2 pair.)
2. Cut the elastic waistband off of the first pair of leggings.
3. Cut the second pair of leggings vertically up the legs (from ankle to crotch along the inside seam of the leg - continue cutting straight up through the waist.) Now you have 2 waistbands that you can use to refashion another pair.
4. Next I tried the leggings on INSIDE-OUT (with waistband already cut off.) Position the new waistband with the fold on top (closest to your bellybutton.) Decide how high up you want your waistband to be (high waist or low rise.) Now use safety pins to pin your new waistband in place. Line it up so the seam will be in the back. I placed my first pin in the front.
5. Now use a basic straight stitch on your sewing machine to attach your new waistband. I started at the back center and continued all the way around. Just before I got to the end (about 3 inches left to go) I stopped sewing and tried them on again. Now adjust the waist size and safety pin again.
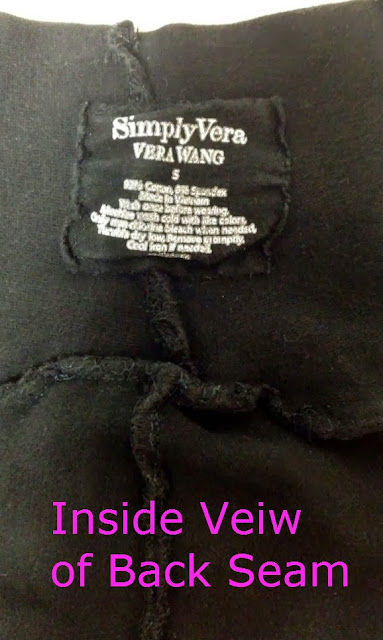
6. Complete the waistband by sewing the waistband vertically. Now finish sewing the last 3 inches of the waistband and attach to the leggings. I went around the entire thing again with a zigzag stitch. I then sewed the label back onto the back of the leggings.
Happy Sewing!
Women Helping Women...
LINK UP and join together with other bloggers to share your inspiration and support!


This comment has been removed by a blog administrator.
ReplyDelete